Check a model on your board
Your boards
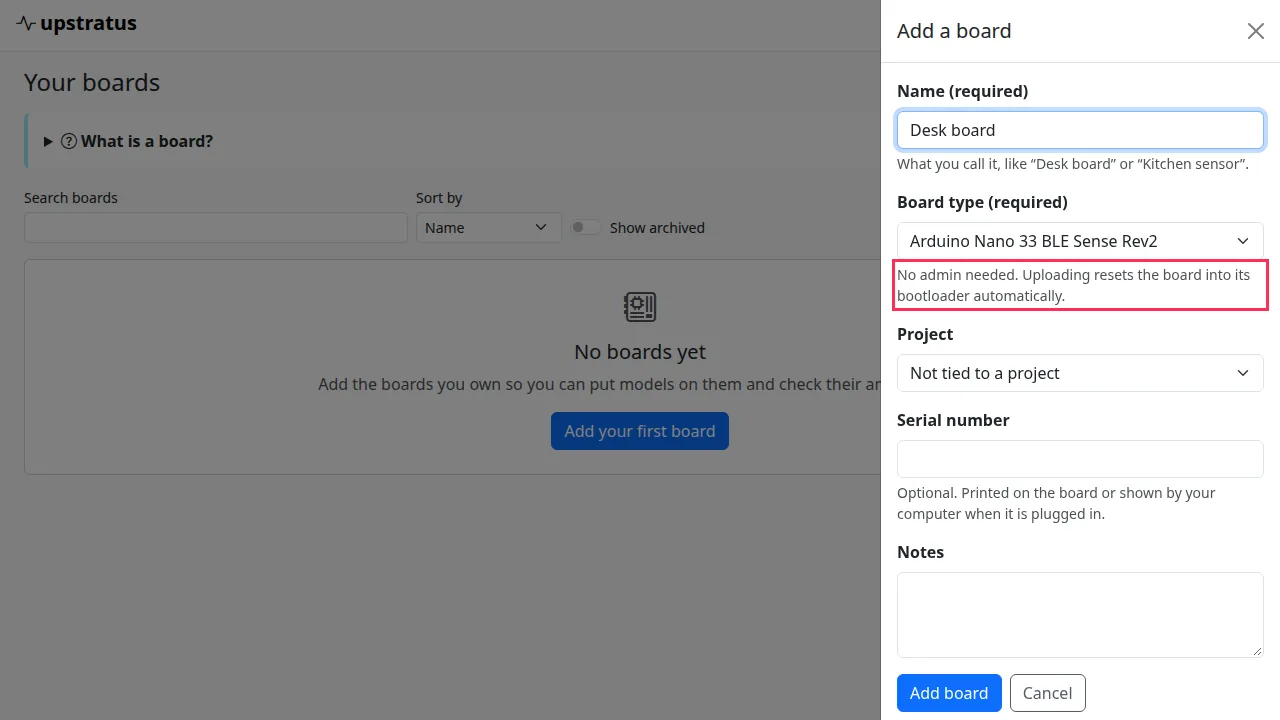
Open Devices at the top of any project screen and choose Add a board. Give it a Name you will recognise and pick its Board type; the note under the type says what your computer needs for that board. A serial number and notes are optional. Boards can be duplicated, archived or deleted from their ⋯ menu; deleting a board keeps its deployment history without its name.
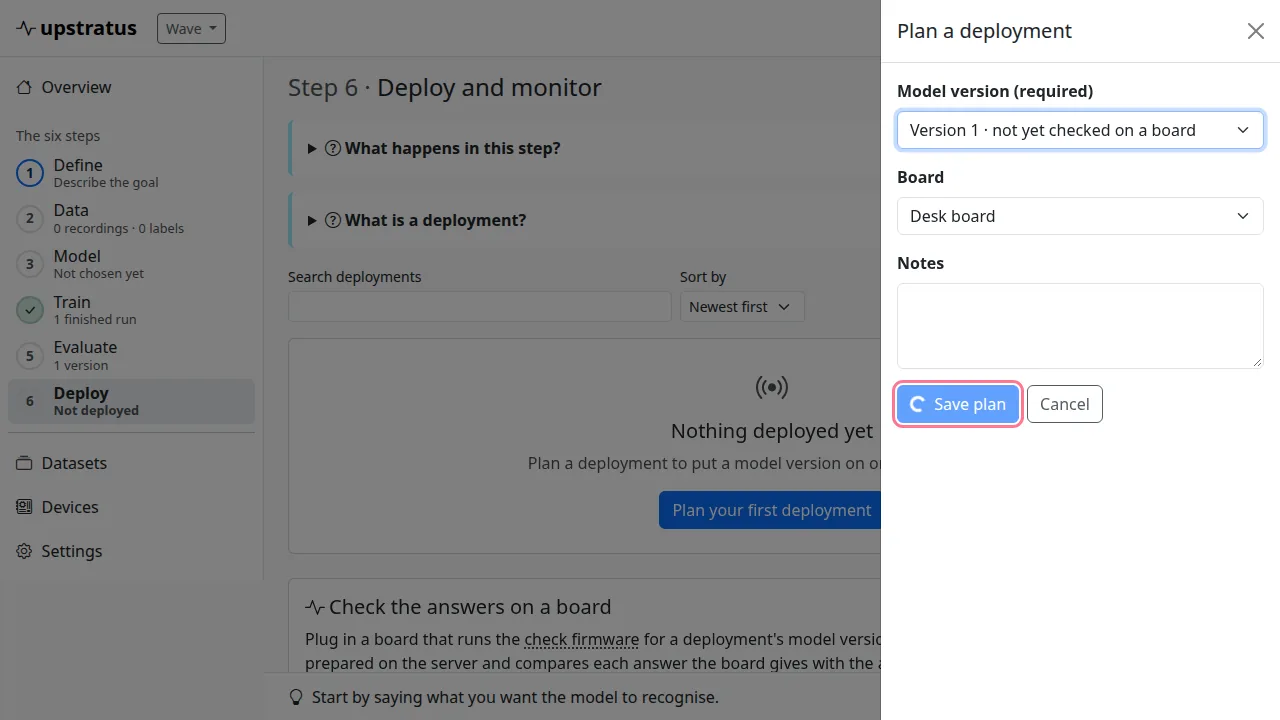
Plan a deployment
Open 6. Deploy and monitor. If no model has been trained yet, the page says so and links to Train. Choose Plan a deployment, pick a Model version and, if you like, a Board. A deployment then moves forward through planned, packaged, flashed and verified, or is marked failed. Package a version for your board on the Versions page, and flash it with the board's own tools.
Check the answers on a board
Check the answers on a board compares what a board says with what the model should say:
- Flash the board with the check firmware for the deployment's model version.
- Choose the deployment, then Connect to board… and pick the board's port.
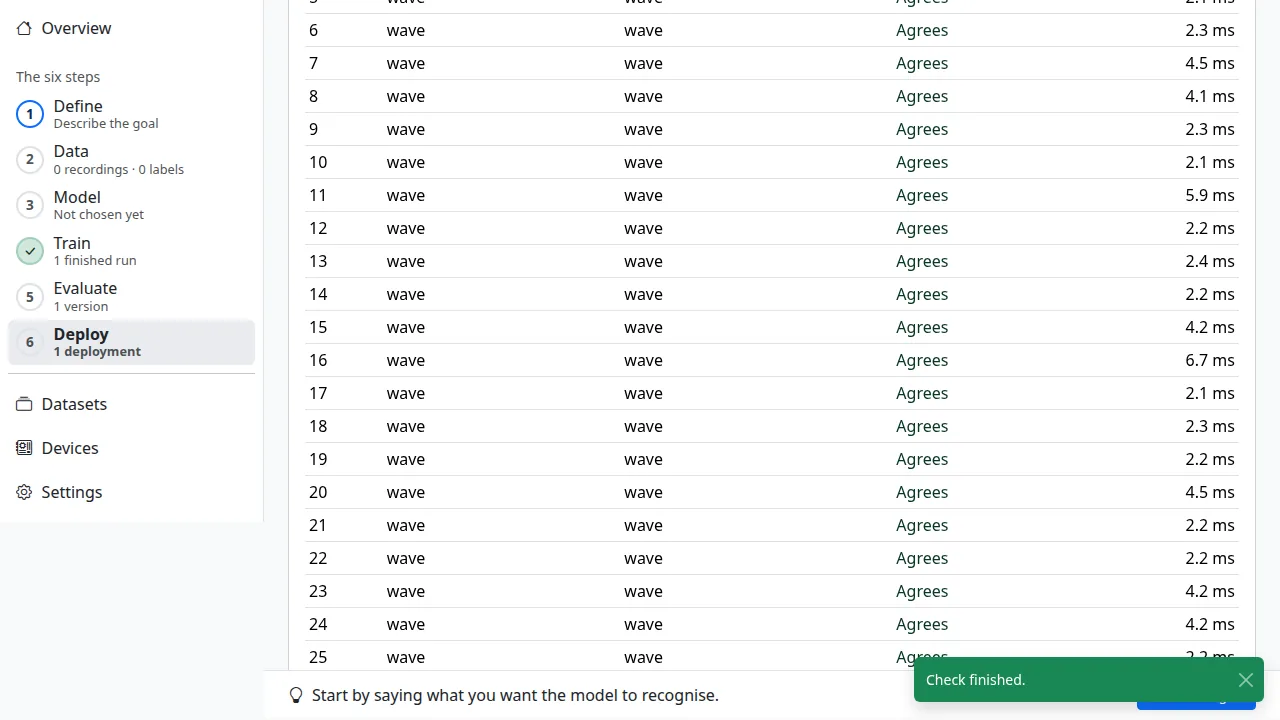
- Choose Start check. The page sends the board a set of test windows prepared on the server and shows each answer as it arrives: expected, what the board said, whether they agree, and how long it took.
- Stop ends the check at any time.
The result is saved with the deployment, for example "31 of 32 answers agree · mean 12.4 ms", and the last 200 answers of a check are kept. This checks the model on the board with test data. It does not read the board's own sensor, and it is not continuous monitoring of a board in use.
If the board does not answer within 5 seconds, the page says so: check that it runs the check firmware for this version and that no other program (a serial monitor, the Arduino IDE) has its port open.
Checking from the page needs Chrome or Edge on a computer, which can talk to a plugged-in board (Web Serial). Other browsers say so and the rest of the page still works.